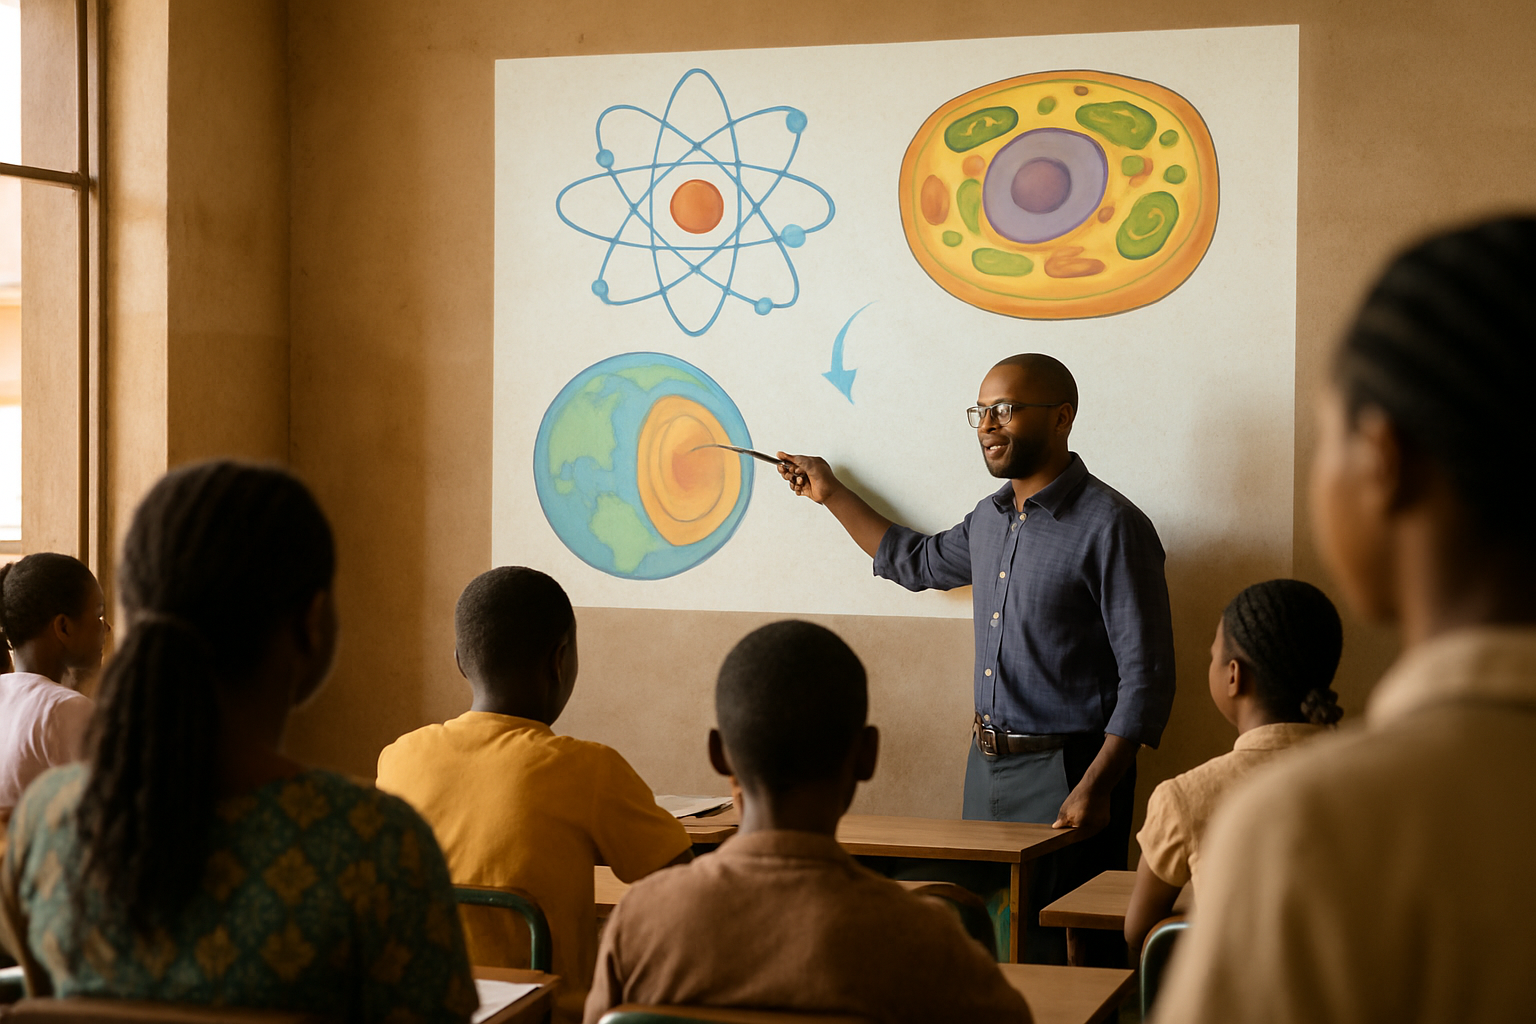
Using Visuals and Simulations to Teach History
Using visuals and simulations to teach History helps learners move from memorising facts to understanding events, causes and consequences. In Cameroonian secondary schools, this approach works well for BEPC, Probatoire, Baccalauréat and GCE classes because it supports explanation, discussion and revision in a way learners can see and remember.
Why visuals and simulations matter in History
History can feel distant to learners when it is taught only through talk and note-taking. A picture, map, timeline or short role-play makes events concrete. Students can see where something happened, who was involved, what changed and why it matters. That is especially useful when teaching topics such as migration, colonisation, nationalism, the slave trade, the World Wars, independence movements, reunification and political change in Cameroon and Africa.
Visuals also help mixed-ability classes. A learner who struggles with long explanations may still understand a map of trade routes, a chart of colonial administration, or an image of a traditional chiefdom, a mission station, or a political rally. Simulations add movement and speech, which helps learners practise historical thinking instead of just copying notes.
Choose the right visual for the lesson goal
Not every visual serves the same purpose. Before the lesson, ask yourself what you want learners to understand. If the aim is sequence, use a timeline. If the aim is location, use a map. If the aim is comparison, use a table, diagram or side-by-side images. If the aim is change over time, use a sequence of pictures or a before-and-after chart.
For example, in a lesson on the partition of Africa, a map showing spheres of influence helps learners see boundaries and rival claims. In a lesson on the growth of nationalism in Cameroon, a timeline can show the link between early protests, party formation, negotiations and independence. In a lesson on traditional institutions, pictures of palaces, regalia and councils can support discussion of authority and social organisation.
- Use maps for location and movement
- Use timelines for chronology
- Use diagrams for structure and organisation
- Use photographs and drawings for observation
- Use comparison tables for similarities and differences
How to prepare simple visuals with available materials
You do not need expensive equipment to teach well with visuals. A chalkboard, manila paper, marker pens, printed handouts, magazines, old textbooks and even neatly drawn sketches can do a lot. If your school has a projector or a phone connected to a screen, that is useful, but it is not required. The key is clarity, not decoration.
When preparing a visual, keep the message simple. Make labels large enough to read from the back. Avoid overcrowding the page with too many colours or too much text. If you are drawing a map, include only the key places, arrows and a legend. If you are using a photograph, prepare guiding questions such as: What do you notice? Who is in the picture? What does this suggest about the period? For one class, a teacher can build slides and notes from the topic using LessonForged, then adapt the output to suit the level of the class and the exam focus.
- Use one main idea per visual
- Write short labels, not long paragraphs
- Check that every learner can see the board or screen
- Prepare guiding questions before class
- Keep copies of important visuals for revision
Use simulations to bring historical situations to life
A simulation is a guided classroom activity in which learners act out a historical situation, decision or debate. It is not theatre for entertainment alone. It should help students understand motives, tensions and consequences. In History, simulations can take the form of role-play, mock meetings, source interpretation, court cases, negotiations or cabinet discussions.
For example, when teaching indirect rule, learners can simulate a meeting between colonial officers, local chiefs and interpreters. For the Berlin Conference, a small group can represent European powers drawing a map of Africa while another group observes and reports on the consequences. For the constitutional evolution of Cameroon, learners can simulate a negotiation between different political viewpoints. The teacher must guide the activity carefully so that learners stay focused on the lesson objective.
- Give each learner or group a clear role
- Provide a short briefing note for each role
- Set rules for speaking time and respect
- Pause the activity to explain key historical points
- End with a short debrief linking the role-play to the syllabus
A practical lesson structure teachers can repeat
A simple lesson structure helps you use visuals and simulations without losing control of time. Start with a quick observation task. Show the visual and ask learners what they notice. Then move to interpretation: what does it tell us about the period, event or system? After that, introduce the core content in clear teacher language. Finally, use a short activity, such as sorting causes, matching events, or a role-play, to help learners apply what they have learned.
For a class on the abolition of the slave trade, you might begin with a map of routes, then show an image of a slave ship or a trading port, then explain the economic and moral reasons for abolition, and finish with a short debate on who benefited and who suffered. For exam classes, end by asking learners to write one structured answer or paragraph using the evidence from the visual.
- Observation
- Interpretation
- Explanation
- Application
- Short written recap
Adapting the method for BEPC, GCE and Baccalauréat classes
Younger classes usually need simpler visuals and shorter simulations. In BEPC classes, use one map, one photograph or one short source at a time. Keep the questions direct and concrete. In GCE, Probatoire and Baccalauréat classes, learners can handle more comparison, evidence and judgement. Ask them to explain causes, assess importance, or compare historical interpretations after the activity.
The exam link is important. Visuals should not replace note-taking and essay practice; they should support it. After a simulation, ask learners to extract points they can use in a definition, short answer or essay introduction. In some schools, teachers also use digital support to prepare lessons, and a tool such as LessonForged can help generate lesson slides and detailed notes in English or French, aligned with Cameroon curricula, for both Anglophone and Francophone settings.
- BEPC: use simple observation and recall questions
- Probatoire: add comparison and explanation
- GCE and Baccalauréat: add evidence, judgement and essay planning
- Always convert activity notes into exam language
Common mistakes to avoid
The first mistake is using visuals only to decorate a lesson. A picture without a purpose becomes noise. The second is talking too much while the visual is displayed, so learners do not actually study it. The third is allowing a simulation to become a noisy performance with little historical value. The fourth is choosing a visual that is too complex for the class level.
Another mistake is failing to close the lesson properly. Learners may enjoy the activity but leave without the key point. Always end by naming the main lesson idea, the evidence used, and the exam skill practised. That closing step turns a lively lesson into real learning.
- Do not overload learners with too many visuals at once
- Do not forget the lesson objective
- Do not let the activity replace explanation
- Do not end without a summary and written follow-up
Frequently asked questions
Can I teach History well if my school has no projector?
Yes. Chalkboard sketches, printed pictures, maps, timelines and simple role-plays are enough when they are well prepared.
How do I keep a simulation from becoming noisy and off-task?
Give clear roles, short instructions, a time limit and a final debrief that brings the class back to the lesson objective.
What kind of visual is best for exam classes?
Use the visual that matches the skill you want: map for location, timeline for sequence, photograph for observation, and table for comparison.
How can I make sure learners remember the lesson after the activity?
Ask them to write a short summary, key terms or an exam-style answer immediately after the activity.
Visuals and simulations make History clearer, more active and more meaningful for Cameroonian learners when they are tied to a clear objective. Start your next lesson with one strong visual, one guiding question and one short follow-up task, then build from there.
Prepare lessons and exams faster
LessonForged writes slides, notes and exams with marking schemes, in English and French.
Create a free account